How to Sharpen Scissors at Home: Step by Step
- Review by
- Edge & Pivot Editorial Team
- Last checked
- First published
- Filed under
- Sharpening
To sharpen plain household scissors at home, wash and inspect them, separate the blades if the pair allows it, work the cutting bevel with a stone or diamond sharpener at the existing angle, remove the burr with a light pass, then oil the pivot, set the tension and test cut. A few passes are usually enough.
Belongs to the guide: How to Sharpen Scissors: Methods by Blade Type
This is the generic home routine for plain, straight-edged household scissors. It sits under the sharpening overview, which explains which blades are suitable and which are better sent away. Grit and angle detail for stones is on sharpening scissors with a stone.
Safety note. Sharp tools cut. This is general information; follow the maker’s instructions for your pair. OSHA’s hand-tool booklet says safety goggles and gloves must be worn against hand-tool hazards, so use them. Always push the stone away from your body and keep fingers behind the edge. Reviewed by the editorial desk against the cited sources.
What you need and what to skip
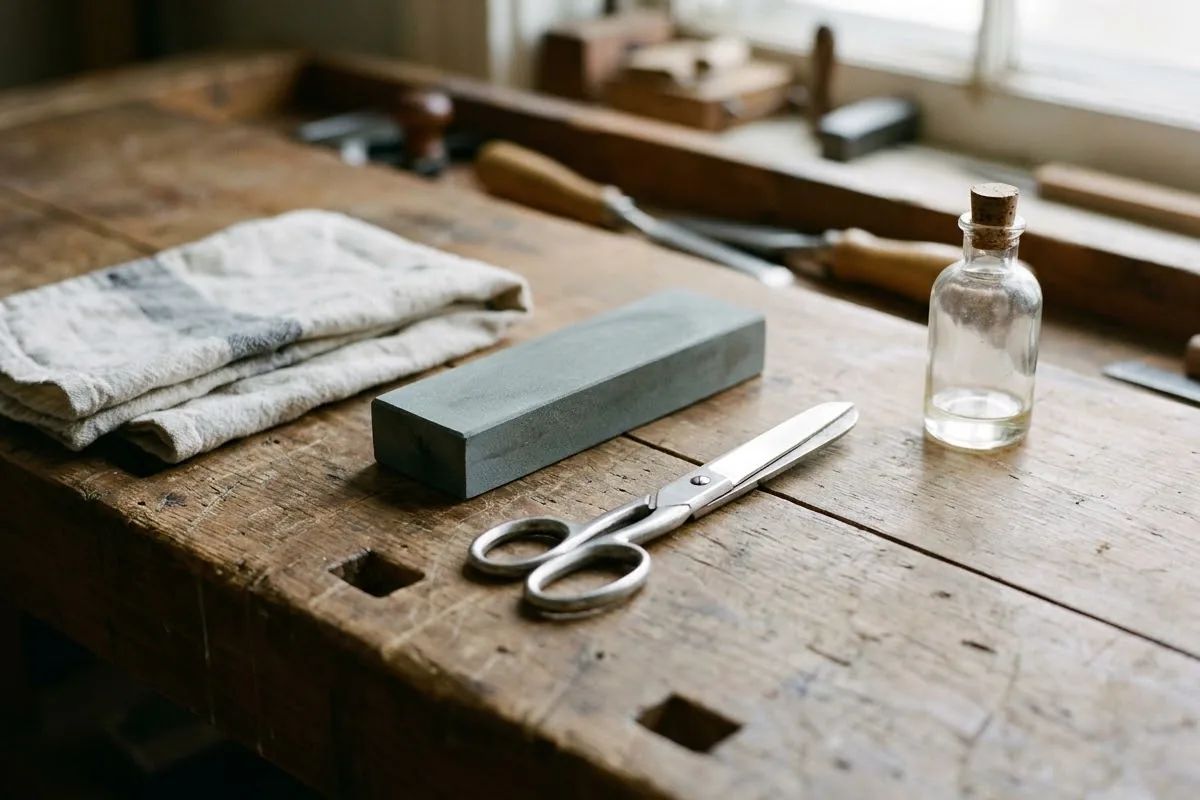
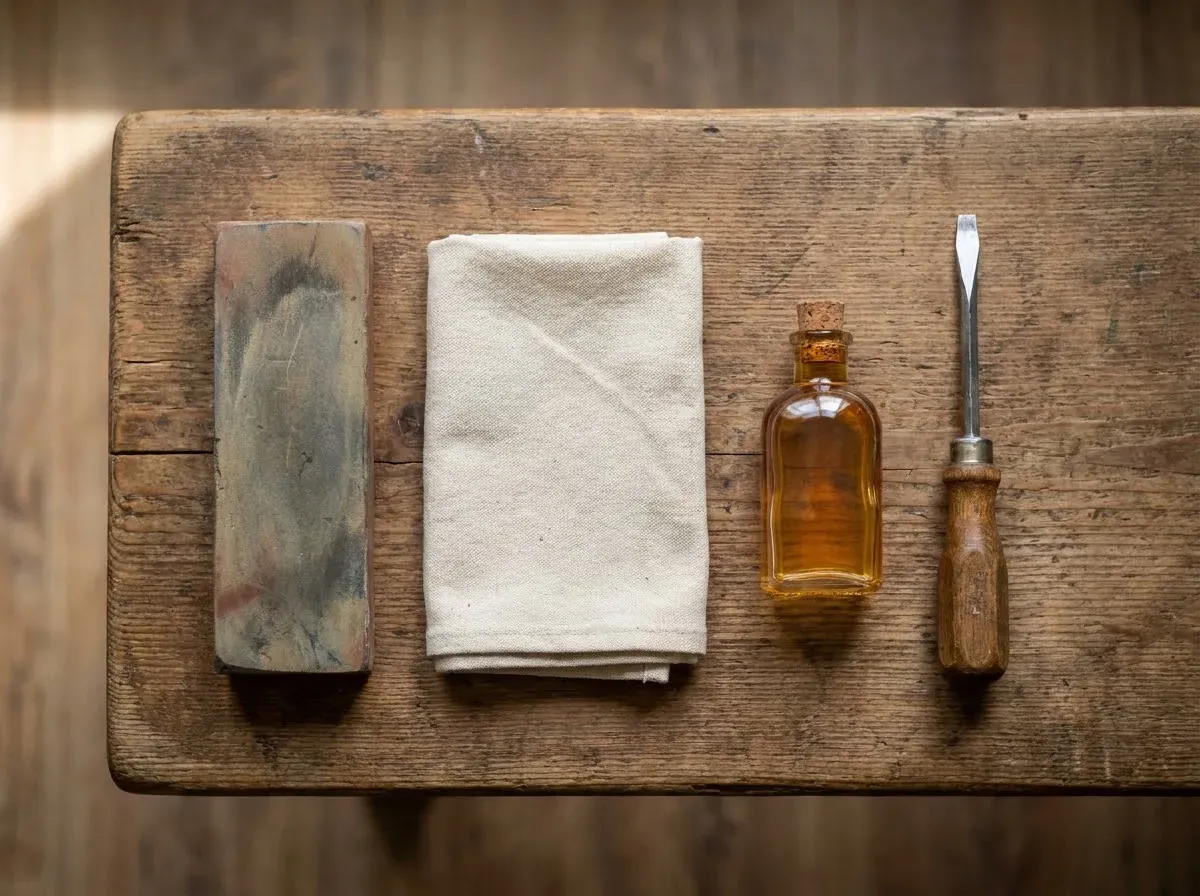
You need:
- A sharpening stone or diamond sharpener, plus a fine stone, ceramic rod or honing steel for the burr.
- Warm water, mild dish soap, a soft cloth, and a little alcohol or cleaner for adhesive residue.
- Scissor oil (a very small amount).
- A screwdriver or the right key, if the pair has a screw you are allowed to loosen.
- Gloves and eye protection.
Skip improvised abrasives; the foil question has its own page. None of the maker guides we opened recommends sandpaper, foil or steel wool. Skip sharpening machines that hold a fixed angle unless the maker of your scissors says they suit the pair.
Prepare: clean, open, inspect the edge
- Inspect. Look for dirt, rust, chips, bent tips or loose screws. A maker notes dirt build-up or incorrect adjustment can mimic a dull edge.
- Clean. Loosen the screw to separate the blades if the pair allows it. Wash in warm water with mild dish soap, remove adhesive with alcohol or a suitable cleaner and dry thoroughly.
- Check the joint and inner faces for burrs. Do not remove material from the inner surfaces.
- Find the bevel. It is the angled face along each cutting edge. If you cannot tell which face is the bevel, stop and use a service.
Decide at this point whether the pair is a candidate at all. Hair, thinning, premium tailoring, surgical and micro-serrated kitchen scissors are listed by one maker as generally best left to a professional.
Sharpen each blade along its existing bevel
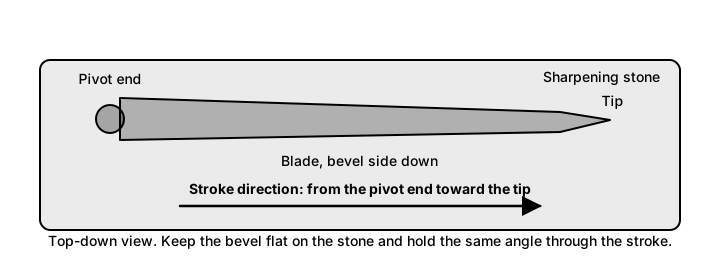
- Hold or steady the blade so the bevel lies flat on the stone at its existing angle. Maintain the angle the manufacturer put on it; do not chase a new one.
- Work from the screw area toward the tip in smooth, controlled strokes, pushing away from your body.
- Check often. A few passes are usually enough, so avoid removing extra metal.
- Repeat on the second blade with the same number of passes.
For orientation, one sharpener maker gives typical angles of 40 to 45 degrees for general-use scissors, 25 degrees for delicate specialty kitchen scissors and 0 degrees for children’s safety scissors. That is one maker’s rule of thumb, not a standard, and the factory bevel on your pair is what counts.
Remove the burr and re-assemble
Sharpening pushes a thin burr to the far side of the edge. Turn the blade over and lightly pass a fine stone, ceramic rod or honing steel over the inner side without altering the inner surface. Wipe off residue, put a small drop of oil at the joint, open and close the blades several times, then reassemble and adjust the screw so the blades move smoothly with no excessive play.
Test cut and adjust pivot tension
Cut the material the pair is normally used for. You want a clean cut from tip to pivot. Another maker suggests a simple tension check: hold the scissors at eye level, lift one handle and let it drop; if the blades fully close it is loose, and if they barely move it is too tight. Adjust slightly and retest. That test is described for premium scissors, so treat it as a guide for plain pairs.
When to stop and use a professional
Stop and use a service if the pair has nicks, bent tips or a damaged pivot, if you are unsure of the bevel, or if a test cut still folds the material after the steps above. For specialist pairs, one fine-scissor maker says to use a professional sharpening service. See also the method chooser tool, and for ongoing care, scissor safety and care. Fabric pairs have their own page: sharpening fabric pairs.
Common mistakes at home
- Sharpening a dirty pair.
- Grinding the flat inner face.
- Forgetting to remove the burr.
- Over-tightening the screw to compensate for a dull edge.
- Using a pair kept for fabric on paper; one premium-scissor maker says cutting inappropriate materials can dull the blades.
FAQ
How long does it take to sharpen scissors at home?
For a plain household pair, the sharpening itself is short because a few passes are usually enough, according to one scissor maker. Allow extra time for washing and drying, deburring, oiling and adjusting the tension, and for test cuts. Rushing and removing extra metal is the bigger risk than taking too long.
Can I sharpen scissors without special tools?
A sharpening stone or diamond sharpener is the tool most maker guides name. One sharpener maker adds that a honing rod or a piece of hardened steel can stand in when you have nothing else. None of the maker guides we opened recommends improvised abrasives such as sandpaper or foil.
Which side of the blade do I sharpen?
Sharpen the beveled side, which is the angled face on the outside of each blade, and leave the flat inner face alone. Work along the existing angle. One maker lists altering the inner blade surface as one of the most common sharpening mistakes, because it may affect how the blades make contact.
How do I know the scissors are sharp again?
Cut the material the scissors normally handle. You want a clean cut along the whole blade from the tip to the pivot, with no folding, snagging or slipping and no extra effort. If the material still folds, recheck for dirt, burrs and a loose or over-tight pivot before sharpening any further.
Should I sharpen kitchen scissors the same way?
Plain-edged kitchen scissors are often treated like other household pairs, and one sharpener maker gives a lower angle figure for delicate specialty kitchen scissors. Micro-serrated kitchen scissors are different: one scissor maker lists them as best left to a professional. Check the maker's care page for your model before starting.
Sources
- Victorinox: How to Sharpen Scissors (victorinox.com)
- Work Sharp: How to Sharpen Scissors (worksharptools.com)
- Whiteley: How to Take Care of Premium Quality Scissors & Shears (whiteley.co.uk)
- OSHA 3080: Hand and Power Tools (osha.gov)
Keep reading
- How to Sharpen Scissors: Methods by Blade Type
How to sharpen scissors: which method suits household, fabric, pinking, hair and garden blades, how to keep the factory edge, and when to use a pro.
- Does Cutting Aluminum Foil Sharpen Scissors?
Does cutting aluminum foil sharpen scissors? What the opened maker sources say about foil, honing and burrs, and what to do for a truly dull pair.
- How to Sharpen Fabric Scissors Without Ruining Them
How to sharpen fabric scissors without ruining them: why shears dull, what to check first, home options versus a maker or professional service.
- How to Sharpen Garden Scissors and Pruning Shears
How to sharpen garden scissors and pruning shears: clean first, file or stone the bevel side only, remove the burr, oil, and disinfect when needed.
- How to Sharpen Hair Scissors: Options Explained
How to sharpen hair scissors: why shear edges differ from household scissors, what makers say about service versus DIY, and care that delays dulling.
- How to Sharpen Pinking Shears: What Works
How to sharpen pinking shears: why the zig-zag blades are different, what home sharpening risks, what a maker of sharpening equipment says, and care tips.