How to Sharpen Garden Scissors and Pruning Shears
- Review by
- Edge & Pivot Editorial Team
- Last checked
- First published
- Filed under
- Sharpening
To sharpen garden scissors and bypass pruning shears, clean off sap and rust, then file or stone only the beveled side at the factory angle, never the flat back. Remove the burr with one light pass on the reverse, then oil the pivot and metal. Disinfect only when the extension guidance for your plant disease calls for it.
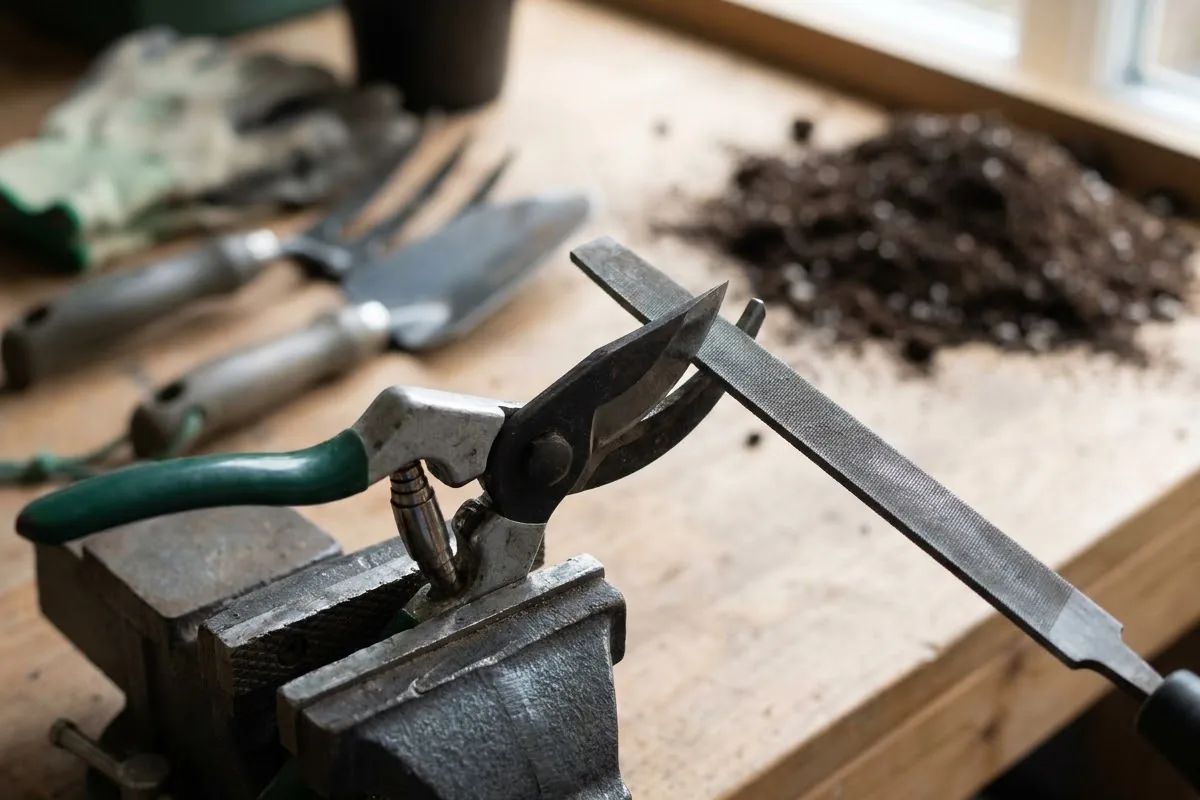
Belongs to the guide: How to Sharpen Scissors: Methods by Blade Type
Garden scissors, snips and pruning shears are thicker and simpler to sharpen than sewing or hair pairs, and extension services publish clear guidance. The central rule matches the rest of our sharpening guide: restore the existing bevel and never grind the flat side. For choosing and types of pruner see the pruning shears guide and the bypass blade action.
Safety note. Garden blades can cut deeply. This is general information; follow the maker’s instructions. Extension guidance says to push the file or stone away from your body, use a vise, and wear gloves and safety glasses; OSHA’s hand-tool booklet says goggles and gloves must be worn against hand-tool hazards. Reviewed by the editorial desk against the cited sources.
When garden blades need sharpening
A pruner needs sharpening when it crushes stems instead of cutting them cleanly or takes more effort than before. University of California Master Gardeners say a dull blade tears or chews the plant, stresses it and leaves it more susceptible to fungi and disease, and also tires the wrist and grip. A University of New Hampshire Extension article makes the same point: dull tools can crush or tear plant tissue and raise the chance of infection. Sharp tools offer less resistance and, as a University of California advisor puts it, help prevent injury.
Clean and disinfect first
Clean before you sharpen. A pruner maker says never to sharpen a dirty blade and to remove sap, resin and dirt and check for rust. University of California Master Gardeners suggest a small steel brush, 250-grit sandpaper or coarse steel wool for rust, noting that dirt and sap spread soil-borne disease and hold moisture that leads to rust.
Disinfection is a separate question and guidance differs:
- University of Minnesota Extension: clean visible dirt, then use 70% isopropyl alcohol or higher on hand pruners; bleach is not recommended for tools that need a sharp edge. It also cautions that alcohol might not effectively disinfect tools used on apple trees with fire blight.
- University of California Master Gardeners: for infected plants, use a 10% bleach solution (one part bleach to nine parts water), then dry thoroughly and oil.
- A University of California Cooperative Extension advisor: sanitizing between cuts is not necessary for most landscape plants and fruit trees, but notes that palm wilt is easily spread by saws and some canker fungi can be spread by pruning equipment.
Follow the recommendation from your local extension office for the disease you are managing.
Sharpen the bevel side only
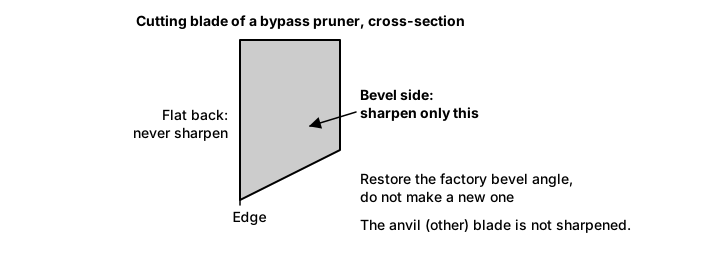
For bypass pruners, a pruner maker says to sharpen only the beveled side of the cutting blade and not the anvil blade, and to restore the original factory bevel rather than create a new angle. It gives about 23 to 25 degrees as the bevel of most high-quality bypass pruners, which is one maker’s figure for its own tools; match the angle you can see on yours. A University of California advisor adds never to sharpen the back side of the bevel, because it creates a gap, and a back-bevelled pair then needs blade replacement or grinding. University of California Master Gardeners note that shears with two beveled edges need both sharpened. Check which type you own.
File or stone: steps
With a stone
- Lay the stone flat on the existing bevel; add a few drops of oil or water depending on the stone.
- Push from the heel toward the tip in smooth, even strokes; about five to ten strokes is one maker’s suggestion.
- Remove the burr with one light pass on the reverse with a fine or ceramic stone.
With a file
- Secure a 10 to 12 inch mill bastard file, and stabilize the tool in a vise.
- Set the file at the same angle as the factory bevel and stroke one way only; do not drag it backward on the return stroke.
- Do not use oil with a file; shavings will clog it.
- Remove burrs from the back with a fine file or a light pass.
With a multi-sharpener: pull the tool toward you along the edge at the bevel angle in a curved motion, then make a simple pass on the back to remove burrs.
Oil and store; safety
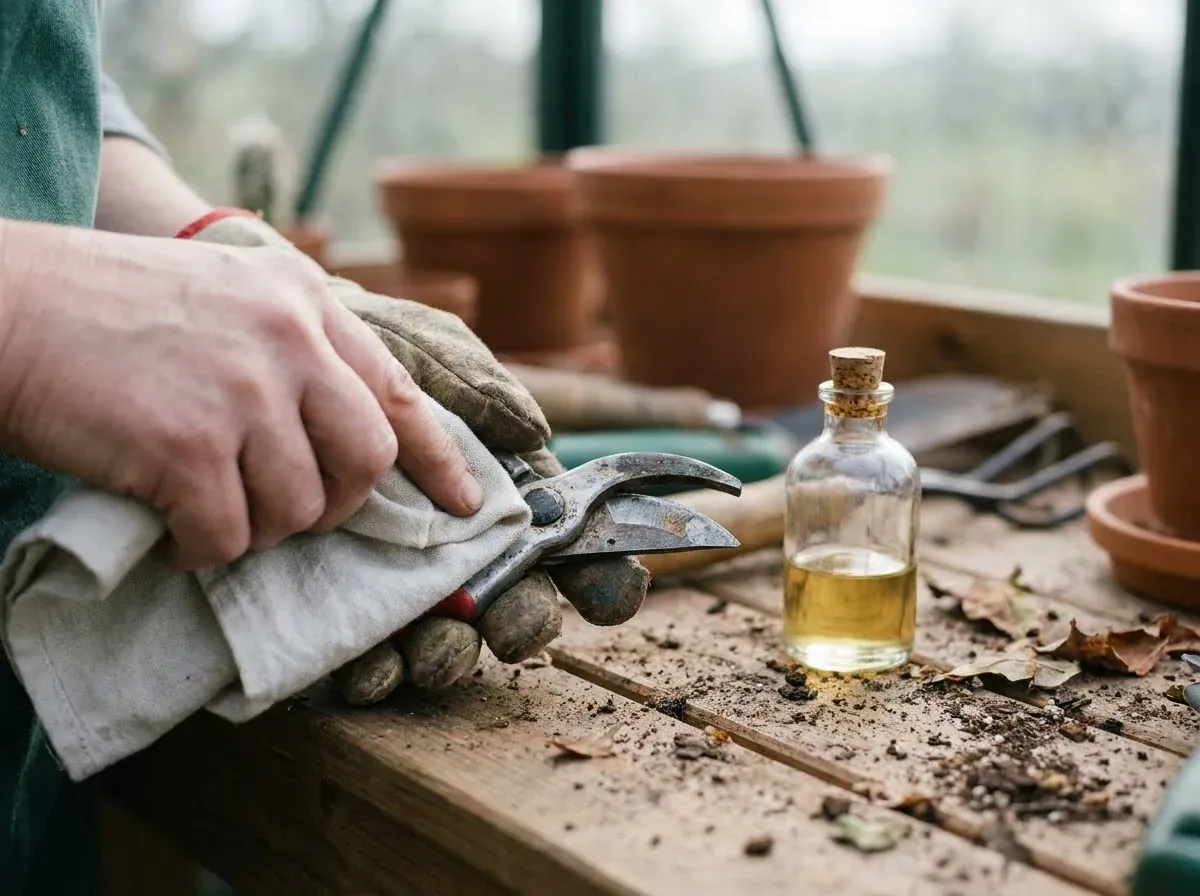
Wipe the blades and oil them, including the pivot bolt and spring; University of New Hampshire Extension says to finish by oiling to lubricate the moving parts and prevent rust. If you used bleach, dry and oil immediately because it is corrosive to metal. Store with the blades closed and in a dry place. Wear gloves when sharpening; one maker says bare hands are acceptable only for the final edge check.
Anvil blade differences
On an anvil pruner, the cutting blade closes on a flat surface rather than passing it. One pruner maker says the anvil blade of a bypass pair is not sharpened, and extension guidance describes the anvil hand pruner as less common than bypass. For which type to buy, see the choosing checklist; for rose work, the rose pruner notes. Care between sharpenings is in scissor safety and care.
FAQ
Should I disinfect pruners between plants?
Not always. University of Minnesota Extension recommends cleaning first, then using 70% isopropyl alcohol or higher on hand pruner blades, and not bleach. A University of California advisor says sanitizing between cuts is not necessary for most landscape plants and fruit trees, though palm wilt is easily spread by saws and some canker fungi can be spread by pruning equipment. Follow the guidance for your disease.
Can I sharpen garden scissors at home?
Yes. Extension guides treat it as a routine task for garden blades. Clean the blade, work only the beveled side at the existing angle, remove the burr and oil it. Gloves and eye protection are recommended, and the file or stone should move away from your body.
Which side of a bypass pruner do I sharpen?
Only the beveled side of the cutting blade. A pruner maker says the anvil or hook is not sharpened, and a University of California extension advisor says never to sharpen the back, flat side of the bevel because it creates a gap that leaves a flap of tissue after each cut.
Do I need a vise?
It helps. University of California Master Gardeners advise using a vise to stabilize the tool for better, more consistent control, and to push a file across the blade away from your body. If you do not have one, stabilize the tool on a solid surface and keep both hands clear of the blade path.
How do I stop pruners rusting after sharpening?
Dry the blades thoroughly, then wipe the metal with oil, including the pivot. University of Minnesota Extension notes oiling helps prevent rust after cleaning, and the University of New Hampshire says to finish by oiling the pruners and wiping off the excess. If you disinfect with bleach, dry and oil immediately because bleach is corrosive to metal.
Sources
- Felco: How to Sharpen and Maintain Your Pruning Tools (america.felco.com)
- UC Cooperative Extension, Master Gardeners of Monterey and Santa Cruz Counties: How to Sharpen Gardening and Pruning Tools (oc4h.ucanr.edu)
- UC Cooperative Extension, James Downer: Tuning up for Pruning Up (Landscape Notes) (ccfruitandnuts.ucanr.edu)
- University of Minnesota Extension: How to clean and disinfect gardening tools and containers (extension.umn.edu)
- University of New Hampshire Extension: How to Clean and Sharpen Your Pruners (extension.unh.edu)
- OSHA 3080: Hand and Power Tools (osha.gov)
Keep reading
- How to Sharpen Scissors: Methods by Blade Type
How to sharpen scissors: which method suits household, fabric, pinking, hair and garden blades, how to keep the factory edge, and when to use a pro.
- Does Cutting Aluminum Foil Sharpen Scissors?
Does cutting aluminum foil sharpen scissors? What the opened maker sources say about foil, honing and burrs, and what to do for a truly dull pair.
- How to Sharpen Fabric Scissors Without Ruining Them
How to sharpen fabric scissors without ruining them: why shears dull, what to check first, home options versus a maker or professional service.
- How to Sharpen Hair Scissors: Options Explained
How to sharpen hair scissors: why shear edges differ from household scissors, what makers say about service versus DIY, and care that delays dulling.
- How to Sharpen Pinking Shears: What Works
How to sharpen pinking shears: why the zig-zag blades are different, what home sharpening risks, what a maker of sharpening equipment says, and care tips.
- How to Sharpen Scissors at Home: Step by Step
A step-by-step home routine for plain household scissors: clean, sharpen the existing bevel, remove the burr, oil and test cut, plus when to stop.